How to use knowledge base to streamline customer support
Outline
- Introduction
- How knowledge base works
- How to set up knowledge base
- 3 benefits of knowledge base
More like this:

Ortto’s newest feature, knowledge base, allows you to create and manage a searchable help center so customers and support teams can self-serve answers at lightning speed. Knowledge base was purpose-built to support Ortto’s AI-powered live chat feature, talk, giving you a single solution for your customer data, marketing campaigns, messaging, and analytics.
This article will help you understand:
How knowledge base works
How to set up knowledge base
3 benefits of knowledge base
How knowledge base works
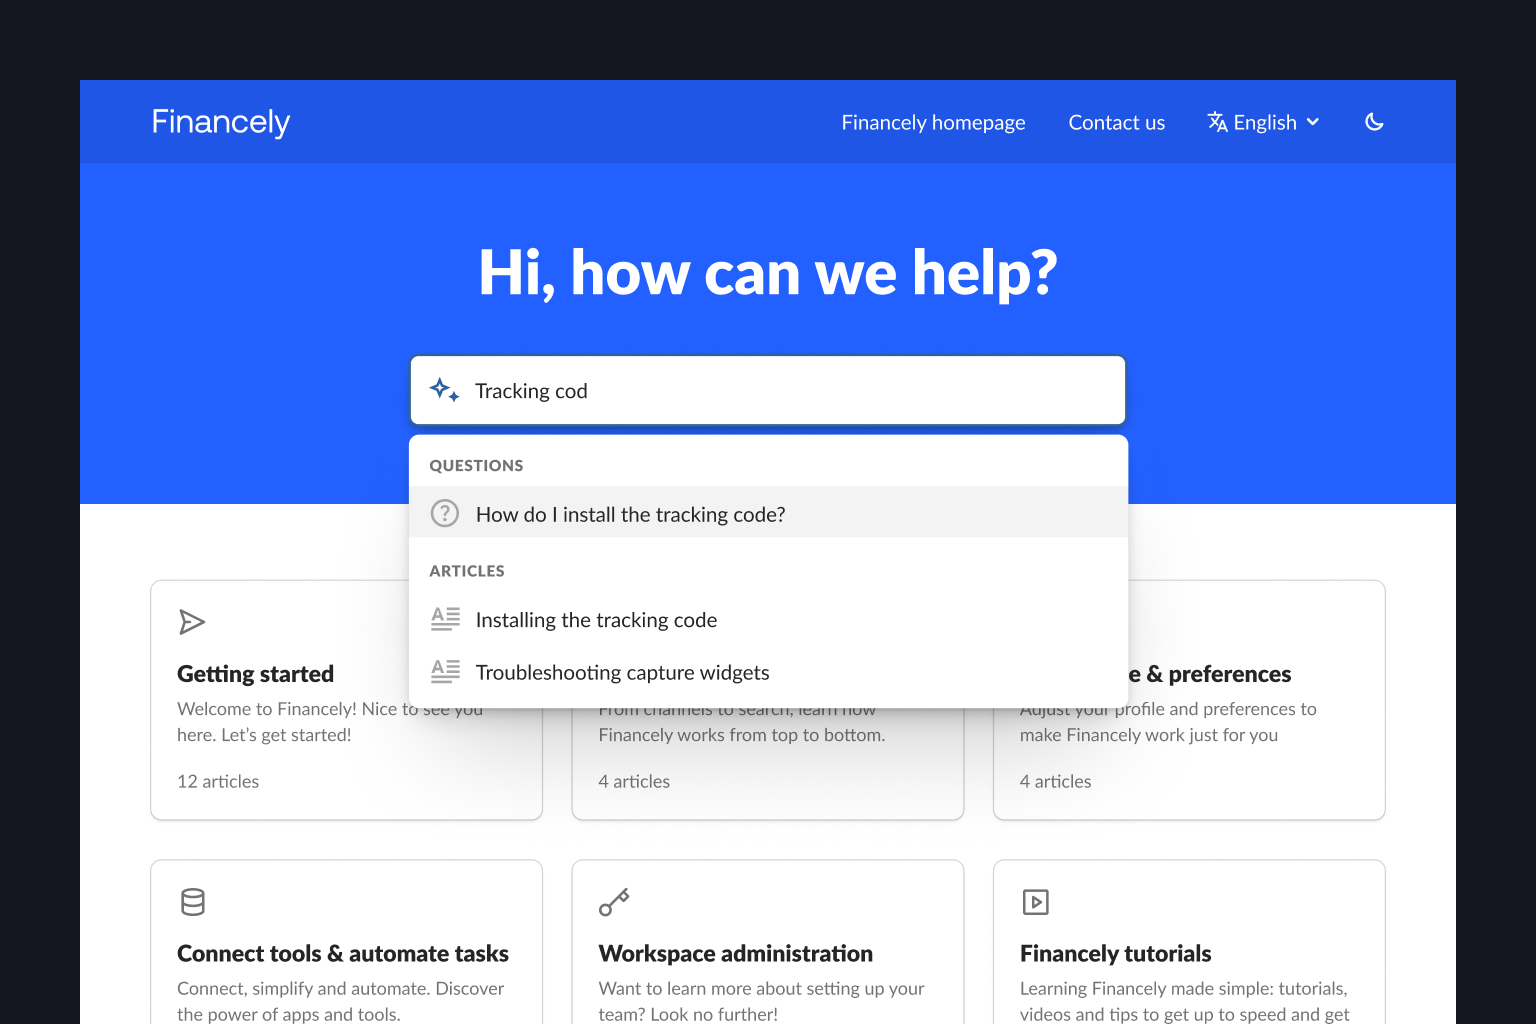
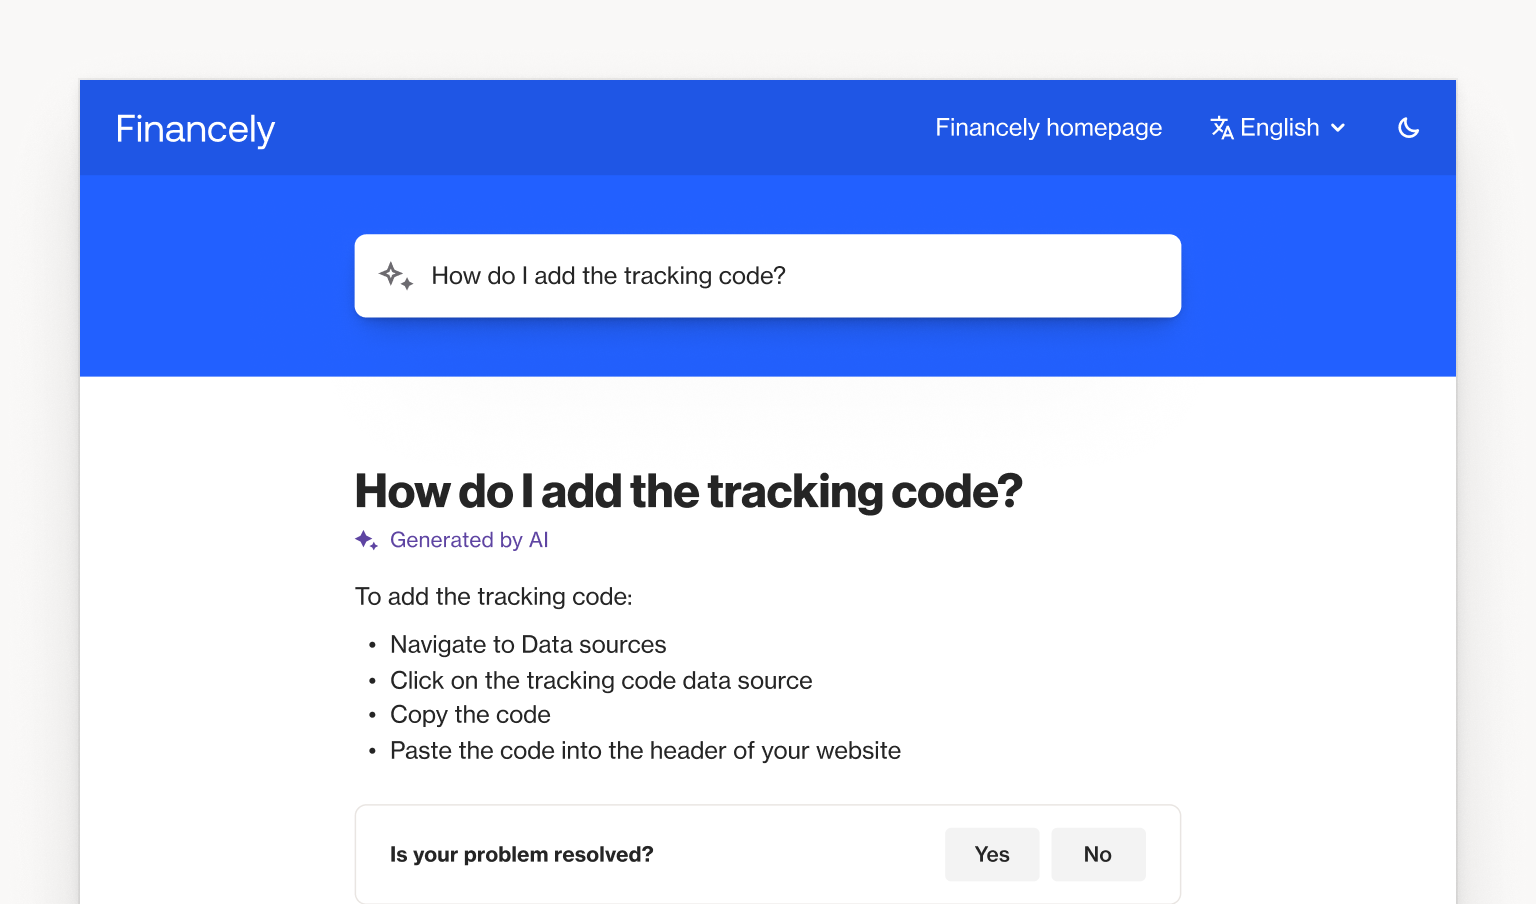
With knowledge base, Ortto customers can build an integrated hub of help content that customers can search in natural language to receive an AI-generated answer, along with links to relevant articles.

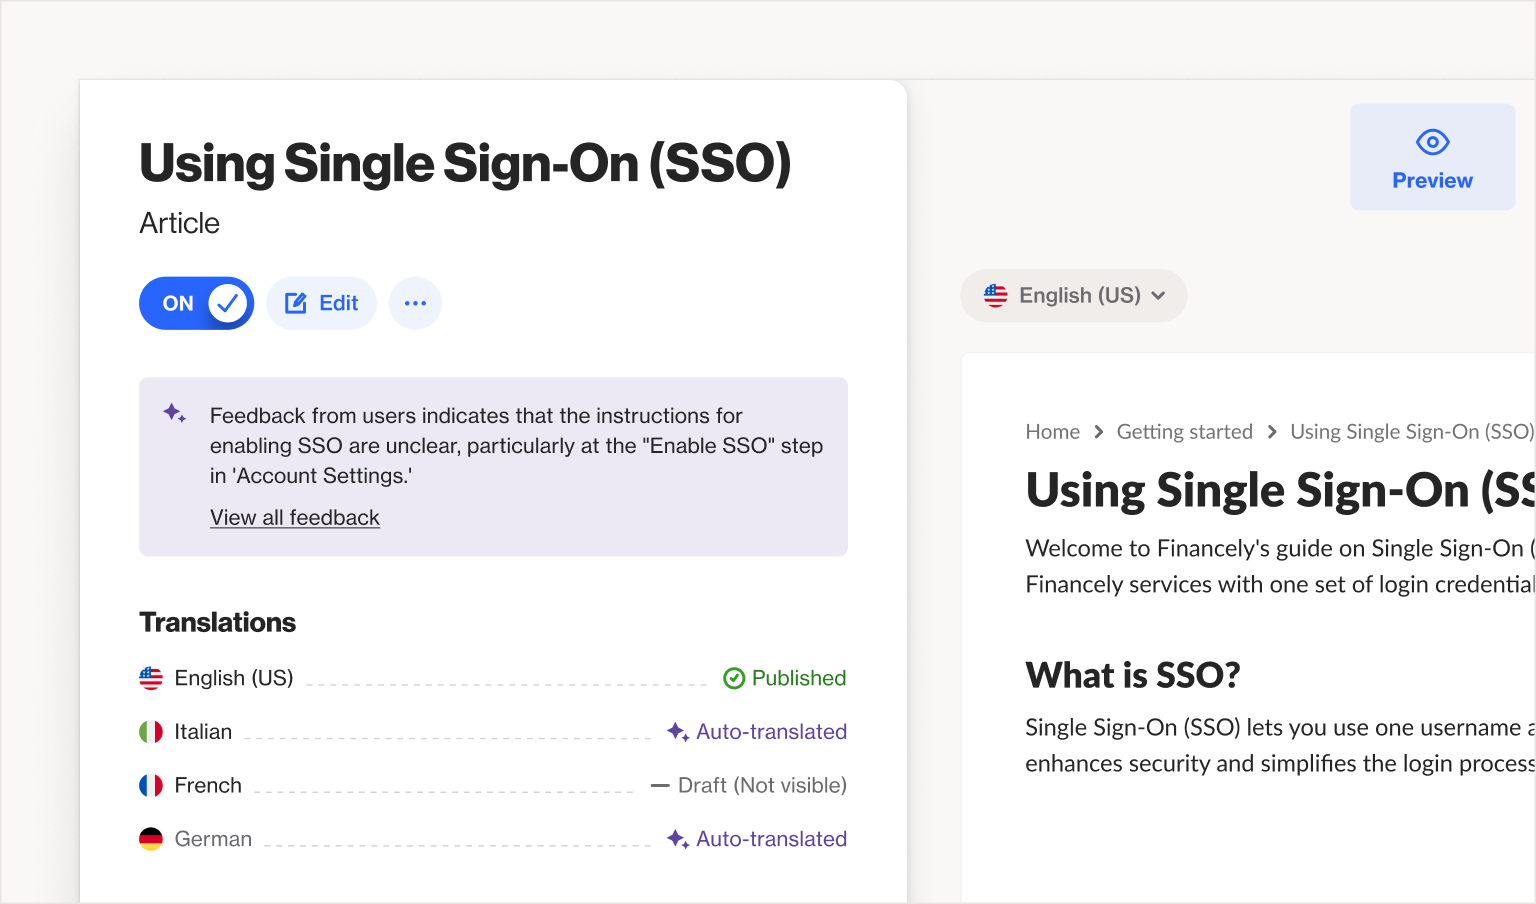
Automatic translations will ensure all your customers are supported with information in their language, and every article will include a feedback form so you can track performance and improve your documentation.
When a customer indicates that an article did not resolve their query, they will be automatically routed to chat with a support agent in talk, streamlining the interaction for your customer and giving you a complete customer service solution, powered by AI.
How to set up knowledge base
Before you start:
Knowledge base uses some default account settings. If you haven’t already completed these setup steps, start here.
Step one: Configure the style, header, and footer links
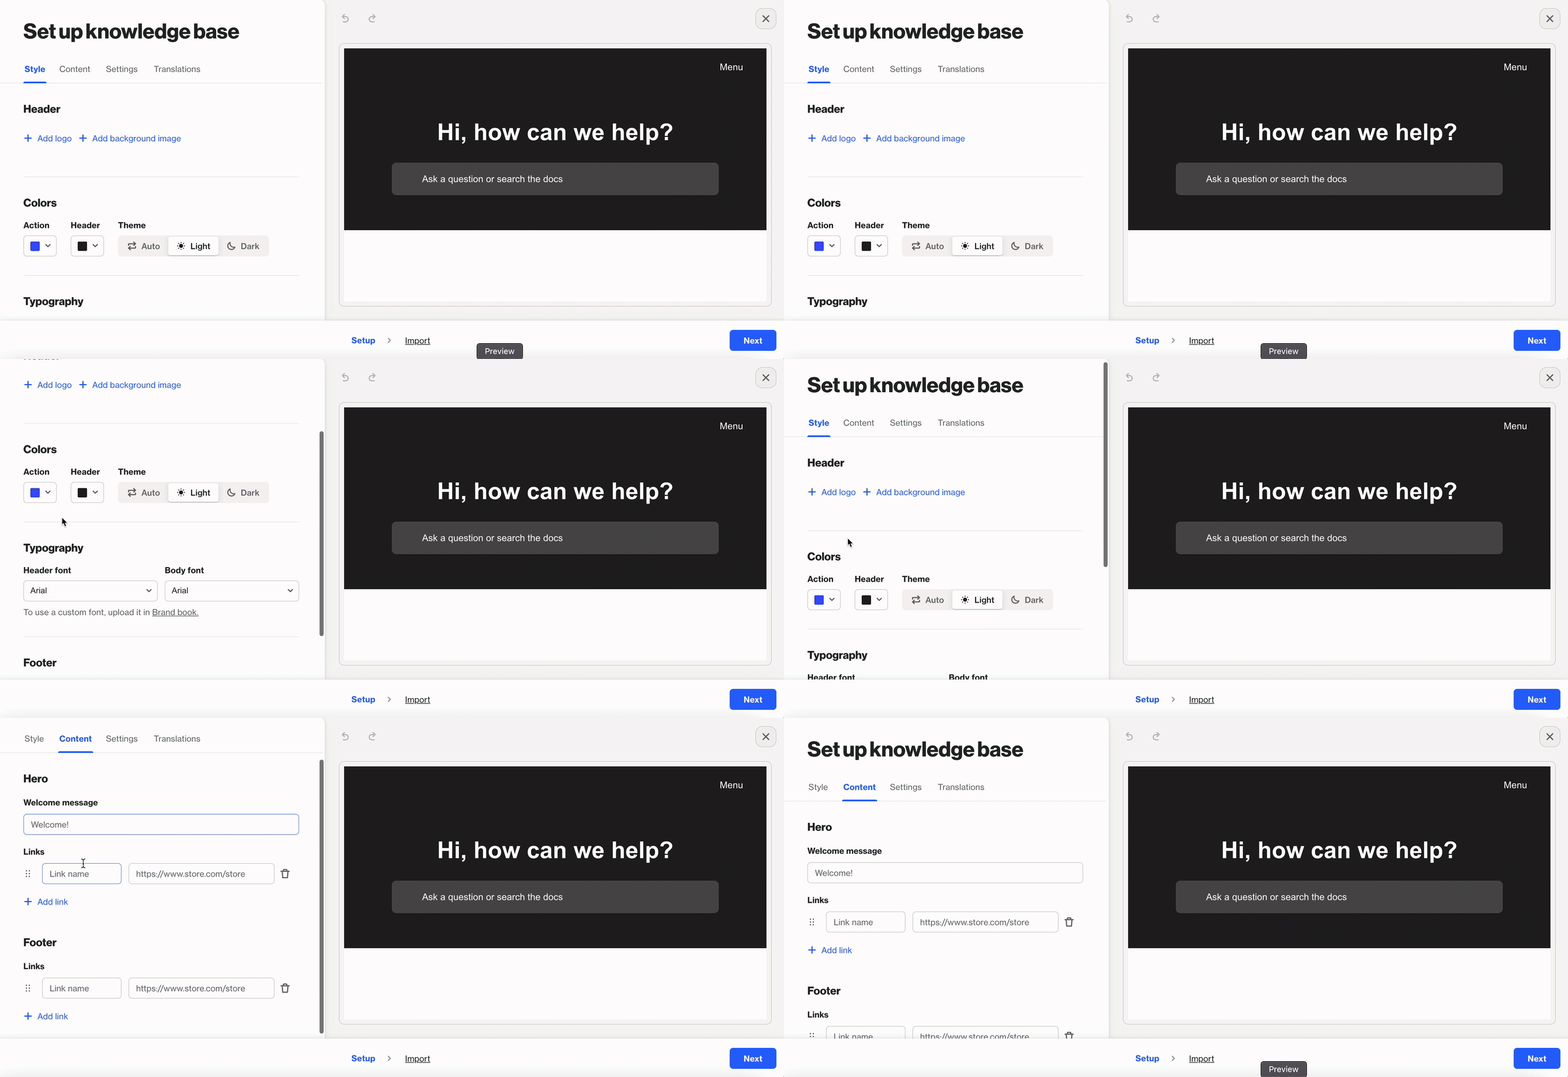
Go to ‘settings’ and knowledge base, and click ‘get started’ to activate the setup wizard.
In the ‘style’ tab, add a logo and background image. Your brand book styles will be automatically applied to the colors and typography, but can be edited here if you want a different look and feel for your knowledge base.
Next, click the ‘content’ tab to add a welcome message to the header, as well as header and footer links.

Step two: Set the domain and add metadata
Click the ‘settings’ tab to specify the host domain for knowledge base. Once your domain has been selected, add a page title and meta description, as well as a favicon and social image. If you want to add a tracking code to the page (for example, Google Analytics), you can add it to the ‘page head code’ section.
Step three: Enable translations
Language settings for your account can be applied to knowledge base by switching auto-translate on.
Step four: Import articles from your data sources
Next, you’ll be prompted to import articles from your data sources. For Help Scout, find your docs API key and enter it in the field. For Intercom, follow you will need to configure Intercom as a new data source (if you haven't already).
Step five: Manage categories and articles
The ‘articles’ section (found in the left-hand navigation) houses all your imported and created articles and categories. Select ‘manage categories’ to add, change, or remove categories. You can select icons for each category and optionally set a description. Any articles not in a category will not appear on your knowledge base hub, but will be accessible via search or their specific URL.

Step six: Turn knowledge base on
Once you are happy with your articles and categories, go back to ‘knowledge base’ in ‘settings’ and switch it on.
3 benefits of knowledge base
Knowledge base solves many of the frustrations with other documentation solutions, providing you with benefits like:
1. Collaborate on multimedia help documentation
Creating, organizing, and maintaining support documentation can be resource-intensive when using off-the-shelf solutions or platforms that require coding. Knowledge base is an intuitive, no-code interface that anyone can use to create compelling, multimedia help content and organize it into categories. Every revision is tracked with version history, and you have the ability to roll back to previous versions if a mistake is made.
To start go to ‘articles’ in the left hand navigation and click ‘Create article’. If you have multiple languages set up, you can select a language in the top right corner. Start typing to compose your article. To insert video, images, code blocks, or buttons, tap ‘return’ on your keyboard and click the ‘+’ button. Watch the short video below to see how it’s done.
2. Monitor the performance of help documentation
Every article in knowledge base will include an actionable, AI-generated summary of feedback left by customers to help you continuously improve your documentation.

Click the ‘report’ tab to see a more detailed report including a visualization of how many customer issues were resolved because of the article, and how many were routed to inbox. You’ll also see a snapshot of the more detailed feedback left by customers so you can delve deeper to gather more insights for optimizations.
3. Streamline escalations to support agents
Knowledge base will generate summaries and recommended articles that empower your customers to self-serve information, eliminating unnecessary tickets for your support team. But some queries simply need to be escalated.
With knowledge base and talk working in tandem, any queries customers mark as unresolved will be automatically routed to the talk inbox where an agent can solve the issue. In the talk inbox, agents can click to view the start URL, meaning they can see which knowledge base article the customer was reading when the query was escalated and enter the conversation with full context.


